
In brief: This servo electric cylinder startup guide covers staged commissioning: verify mechanics and wiring, set travel protection, establish home and test at reduced speed before applying the production load. Record final parameters and alarms.
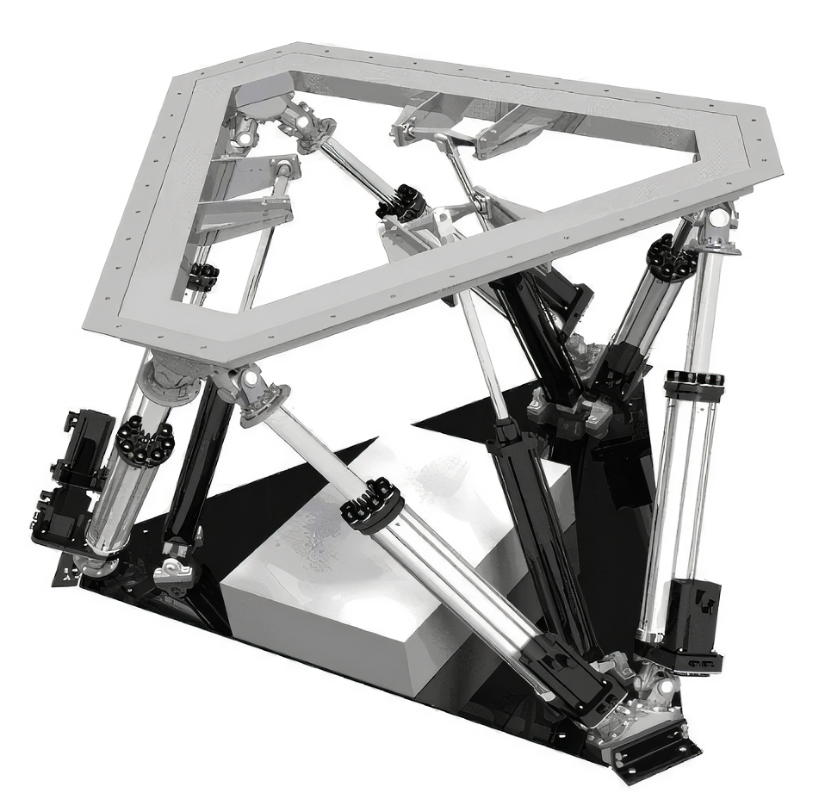
Servo electric cylinder startup guide: five checks
Confirm the actuator, motor, drive and power supply are compatible with the application. Check rated force, stroke, speed, mounting orientation and duty cycle against the actual load. Inspect the mounting faces, coupling, rod-end joint and external guide; a misaligned load can bind the screw and produce misleading drive alarms.
Follow the equipment maker’s lockout and verification procedure before inspecting wiring or moving parts. The OSHA hazardous-energy guidance describes the general control principles; local requirements and the machine’s safety design still govern the work.
Five commissioning checks
1. Confirm wiring and feedback
Inspect motor power, encoder, brake if fitted, protective earth and any external limit or home sensors against the drive and motor manuals. Check the specified cable routing and shield termination. A motor running in the wrong direction or an invalid feedback count must be resolved before loaded motion.
2. Set limits before a full stroke
Verify physical clearances and configure software travel limits within the mechanical range. Test limit inputs at a controlled speed and ensure the machine safety system is independent of ordinary software commands where required. Do not use the hard stop as a routine positioning reference.
3. Establish homing
Check the home sensor, search direction, approach speed and offset. Confirm the displayed position after homing and repeat the process several times. If power loss or a fault changes the reference, follow the controller’s recovery procedure.
4. Run a low-speed, low-load test
Jog through a short, safe segment first, then extend the stroke gradually. Observe commanded and actual position, current, noise and temperature. Confirm the load and external guide move freely in both directions. Stop if the actuator binds or the following error rises sharply.
5. Validate the production cycle
Increase speed, acceleration and payload in controlled steps. Record peak and continuous current, alarm logs and temperature after repeated cycles. Compare the measured profile with the specified ratings, and save a backup of the final drive parameters.
Common setup errors
- Only sizing by peak thrust: check continuous force, speed and duty as well.
- Ignoring side loads: use suitable external guidance or a rated guided model.
- Testing without limits: verify sensors and travel before full-speed moves.
- Changing several parameters together: keep a baseline and document each adjustment.
- Skipping maintenance instructions: use the model-specific lubrication and inspection schedule.
For mechanical alignment, read the installation guides. If the drive reports a fault, use the troubleshooting articles and preserve the exact alarm code. Contact NEFEIT engineering with the model, wiring diagram and intended motion cycle for specific commissioning support.